Documented Claremont Interior Painting Project
Cadogan Place Claremont Interior Painting Case Study
A documented January 2026 interior repaint where a small paint bubble near a bedroom window helped expose a much larger moisture and adhesion problem — with the accessible water-entry route traced to failed exterior window sealing and cracking on the windowsill.
The wider inspection recorded Protimeter readings from 9.2% to 27.2%. The project also involved Rhinoboard ceilings, movement-related cornice gaps, hairline and wider plaster cracks, weathered walls, damaged painted woodwork, doors, frames and skirting.
Project Evidence
- Double-storey private Cadogan Place home.
- Documented 20–29 January 2026 project.
- Protimeter range: 9.2%–27.2%.
- Rhinoboard ceilings and cornices.
- Ceiling/cornice movement gaps.
- Hairline and wider plaster cracks.
- Paint bubbling and poor adhesion.
- Peeling and discoloured wall coating.
- Failed exterior window sealant.
- Cracking on the exterior windowsill.
- Damp-related interior preparation.
- Doors, frames and skirting restoration.
- Weathered and chipped painted woodwork.
- Exterior source repair before interior restoration.
- Working foreman: Riaan.
Real Cadogan Place Project Evidence
9.2%–27.2% Readings
The wider inspection recorded a substantial variation in measured moisture, with the most affected area reaching 27.2%.
Source Traced Outside
The visible problem was indoors, but failed exterior window sealing and windowsill cracking provided an accessible route for penetrating water.
Bubble Revealed Wider Failure
Once preparation started, the apparently local bubble exposed a much larger area of poorly bonded moisture-affected coating.
Movement-Aware Repairs
Cornice gaps associated with ceiling movement were treated as flexible joints rather than simply filled with rigid plaster filler.
Complete Interior Scope
Ceilings, cornices, walls, doors, frames and skirting were all included in the documented interior repaint.
Experienced Employed Team
The quotation records Paint Academy-trained painters with at least ten years' experience with the company, supervised by working foreman Riaan.
Interior Painting and Penetrating-Damp Repairs at Cadogan Place
This documented project was completed at a double-storey private home in Cadogan Place, Claremont from 20 to 29 January 2026.
The requested scope was a complete interior repaint covering Rhinoboard ceilings, cornices, walls, doors, frames and skirting.
What made the project technically important was a moisture-related coating failure near a bedroom window.
The wider inspection recorded Protimeter readings ranging from 9.2% to 27.2%.
What the Original Inspection Found
- Rhinoboard ceilings;
- gaps between cornices and walls associated with ceiling movement during windy conditions;
- hairline cracks;
- wider wall cracks recorded up to approximately 6 mm;
- paint bubbles;
- a particularly unusual local bubble near a bedroom window;
- peeling and discoloured wall coating;
- weathered interior paint;
- weathered painted woodwork;
- numerous chip marks on doors, frames and skirting;
- failed exterior sealant around the affected window; and
- visible cracking on the corresponding exterior windowsill.
When an Interior Paint Problem Actually Starts Outside
The visible damage was on an interior wall, but repainting the wall alone would not have removed the accessible route by which rainwater was entering the surrounding structure.
An exterior inspection of the affected window identified deteriorated perimeter sealing together with cracking on the windowsill.
That meant the correct sequence was:
address the exterior water-entry detail first → prepare the moisture-affected interior substrate → then repaint.
The Small Bubble Was Not the Full Extent of the Failure
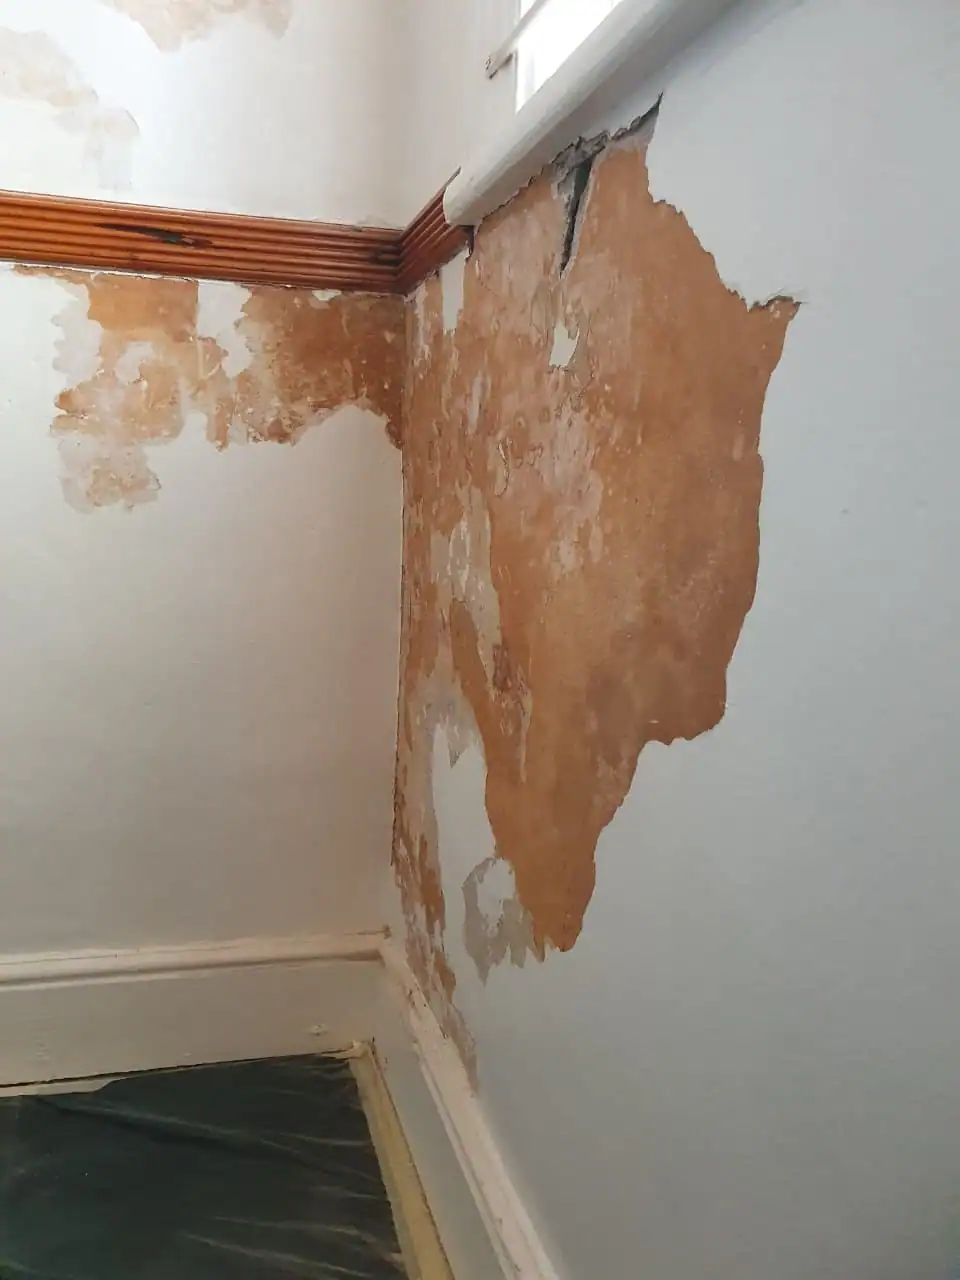
Before preparation, one bubble appeared relatively isolated.
Once the coating was disturbed, a considerably larger surrounding area separated from the substrate.
This is an important practical lesson: the first visible blister does not necessarily define the true extent of adhesion loss underneath the coating.
Preparation had to continue until a stable edge and sound substrate were reached.
Repairing the Exterior Window Detail
The old failing sealant was raked out and the joint cleaned.
The written specification called for replacement with Soudal single-pack polyurethane.
The cured polyurethane was then specified for priming with Dulux Universal Undercoat to support adhesion of the later paint finish.
The Cracked Windowsill Was Also Part of the Moisture Route
The windowsill could not be ignored while repairing the perimeter joint.
Visible cracks were repaired using the appropriate crack-preparation system.
The sill then received two coats of Dulux Rainshield before the surrounding sill and reveals were colour-matched and finished with the documented exterior coating system.
This treated the opening as a complete water-sensitive detail rather than repairing only one bead of sealant.
Why Moisture Readings Were Not Treated as a Diagnosis by Themselves
The 9.2%–27.2% readings confirmed that conditions varied considerably across the inspected areas.
The highest reading supported the physical evidence of a moisture-affected wall, but the physical route still needed to be investigated.
In this case, failed exterior sealing and windowsill cracking provided accessible evidence of penetrating rainwater.
Hairline Cracks
Fine cracks received the documented alkali-resistant preparation followed by flexible Dulux Rainshield worked into the crack.
Where multiple spider-web cracks were present, the specification allowed for broader Rainshield treatment after suitable plaster-primer preparation.
Wider Plaster Cracks
Applicable wider plaster cracks were opened to a suitable V-joint and cleaned.
Shallower cracks were repaired using the documented masonry-patching system before sanding.
Flexible Rainshield preparation was then carried beyond the repaired crack rather than finishing only inside the narrow repair line.
Rhinoboard Ceilings and Moving Cornice Joints
The inspection recorded gaps where cornices met walls, associated with movement in the ceiling during windy conditions.
Those junctions therefore needed a flexible approach.
The written specification called for single-pack polyurethane to applicable gaps before the ceilings received the documented Dulux Wall & Ceiling finishing system.
Damp-Related Interior Preparation
The project specification included Dulux Pre-Paint Dampshield on prepared interior wall areas.
Where substrate readings fell into the specified higher-moisture range, additional treatment was required by the written system.
Bare affected areas received the documented Dampshield coating system with the required curing time between coats.
This damp-related coating formed part of the remedial paint system. It did not replace the need to repair the accessible exterior moisture route.
Doors, Frames and Skirting Needed More Than Repainting
The inspection recorded weathered woodwork and numerous chips on doors, frames and skirting.
The preparation included:
- filling damaged areas and chip marks;
- sanding to a smooth finish;
- removing loose or peeling coating;
- feathering hard edges;
- priming exposed timber with Dulux Wood Primer;
- applying a full Dulux Universal Undercoat; and
- finishing with Dulux Pearlglo Waterbased.
Interior Wall and Ceiling Finishes
Prepared Rhinoboard ceilings received the specified Dulux Wall & Ceiling system.
Prepared walls received Dulux Luxurious Silk, selected as the documented washable premium interior finish.
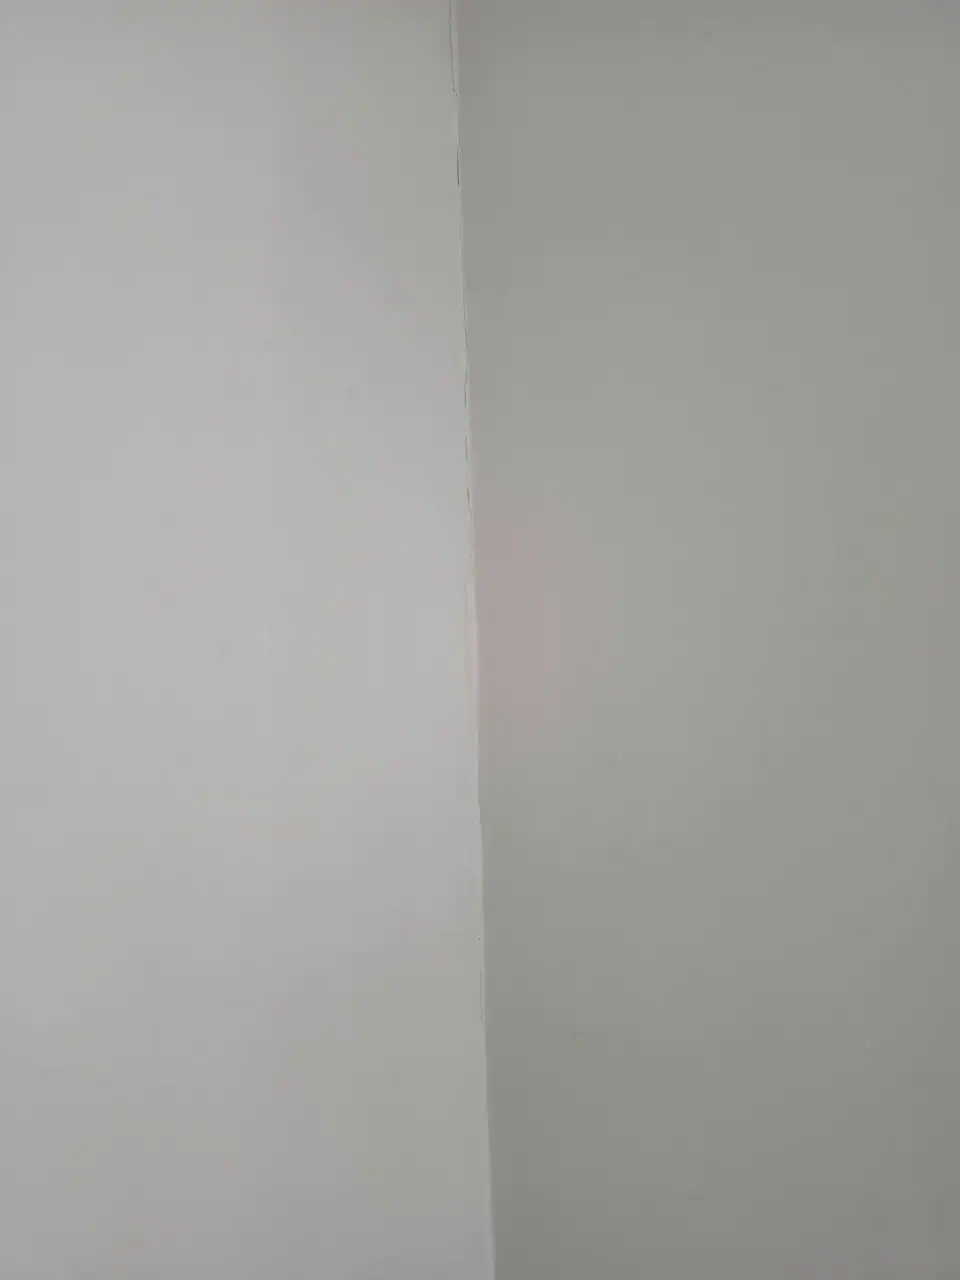
Completed Cadogan Place Interior
What This Cadogan Place Project Demonstrates
This project is a useful example of why an interior paint failure should not automatically be treated as an interior paint problem.
The affected coating appeared inside the house.
The accessible water-entry route was outside.
The initial bubble also underestimated the amount of coating that had already lost adhesion.
A durable repair therefore required investigation, source repair, removal of unstable coating, damp-related preparation and only then the final decorative system.
Related Claremont Painting Services
Return to Painters Claremont.
Related services include Interior Painters Cape Town, Damp Proofing Cape Town and Residential Painters Cape Town.
Call 082 374 6862 or visit our contact page.
Original Painters Cape Town project photography. Image licensing information.
Helpful Painting Guides
Damp Walls and Repainting
Learn why failed seals, cracks, waterproofing defects and continuing moisture routes should be dealt with before repainting.
Why Paint Peels, Fades and Cracks
Understand how moisture, poor adhesion, cracking and weak preparation contribute to coating failure.
Planning a Premium Home Repaint
See how interiors, flooring, furniture, windows, timber and other finishes should be protected and planned before painting starts.
Cadogan Place Claremont Painting FAQs
When was the Cadogan Place project completed?
The documented interior project was completed from 20 to 29 January 2026.
What moisture readings were recorded?
The wider inspection recorded Protimeter readings from 9.2% to 27.2%, with the most affected area reaching 27.2%.
What caused the moisture-related wall failure?
The accessible penetrating-water route was traced to deteriorated exterior window sealing together with visible cracking on the corresponding windowsill.
Why was the exterior repaired during an interior project?
Repainting the interior wall without repairing the accessible exterior water-entry route would have left the cause active.
Why did a small bubble expose a much larger area?
The visible bubble was only one point where weakened coating had released. Once preparation began, a larger surrounding area of poorly bonded coating separated.
Were the windowsill cracks repaired?
Yes. The documented repair included crack preparation, flexible Rainshield waterproofing and repainting of the sill and reveals.
Were ceiling and cornice gaps included?
Yes. Gaps associated with ceiling movement were treated with suitable flexible polyurethane before the ceiling finishing system.
Were wall cracks repaired?
Yes. Hairline and wider plaster cracks received different preparation systems according to their width and condition.
Was damp-resistant preparation used?
Yes. The documented system included Dulux Pre-Paint Dampshield and additional Dampshield treatment on applicable affected and bare areas.
Were doors, frames and skirting restored?
Yes. Chipped and weathered painted woodwork was filled, sanded and prepared with compatible primer and undercoat before finishing.
What wall finish was used?
The documented interior wall finish was Dulux Luxurious Silk.
Where can I see your complete Claremont painting service?
Visit our Painters Claremont page.

Copyright 2026 , all rights reserved.